Beauty Blender vs. Foundation Brush
We all know that it can be very overwhelming walking into
the makeup aisle at any drugstore…all the colors and brands staring at you;
almost as if they are chanting “Pick me! Pick me!” With a closer look at each
foundation bottle they all claim to do the same things, flawless coverage,
smooth finish, bendable formula etc… What they don’t provide you with is the
tools necessary to achieve these results. Luckily for you, I have been playing
with both a foundation brush & a beauty blender to see which product is
really the best tool for applying a flawless finish! After trying out both
techniques I have found that both tools are truly perfect for different things…
let’s take a peek!

I have absolutely been loving the ecotools bamboo foundation brush shown in the picture above. I picked up this brush from Wal-Mart, for $7.99 figuring it would be worth a shot! Before using this brush I was using a flat top brush and I felt as if that brush was eating all a lot of product and was leaving my skin with a blochy finish. With this new foundation brush I have been achieving a flawless finish! The bristles are super soft and flexible and I can use this brush for my entire face including under eye since the brush is so small. Without any special technique it applies my foundation with an "airbrushed" finish, yet natural. I have found after a few trial runs that with a few different foundation types this works better with a thicker product. For example, the Neutrogena Skin Clearing foundation. This is an amazing product that is on the thicker side, for a more full coverage finish. The proper way to apply foundation with this brush is to pour a small amount to the back of your hand, dab the brush into the foundation and then begin to apply to your face. There isn't really any rhyme or reason to which direction to apply but be sure to apply in circular motions. This will allow the foundation to be "buffed" into your skin which is how you would achieve the airbrushed finish. If you are struggling with trouble areas or uneven skin complexion (like me), you can try and use a stippling motion--patting the brush into the skin for extra coverage.
 |
Very pore-less finish, even complexion. |
You can also purchase this same brush from Ulta.com-- if you purchase this brush today (2/23) use coupon code 306520 to receive $3.50 off of any $10 purchase! This sale will run until March 13th.
.JPG)
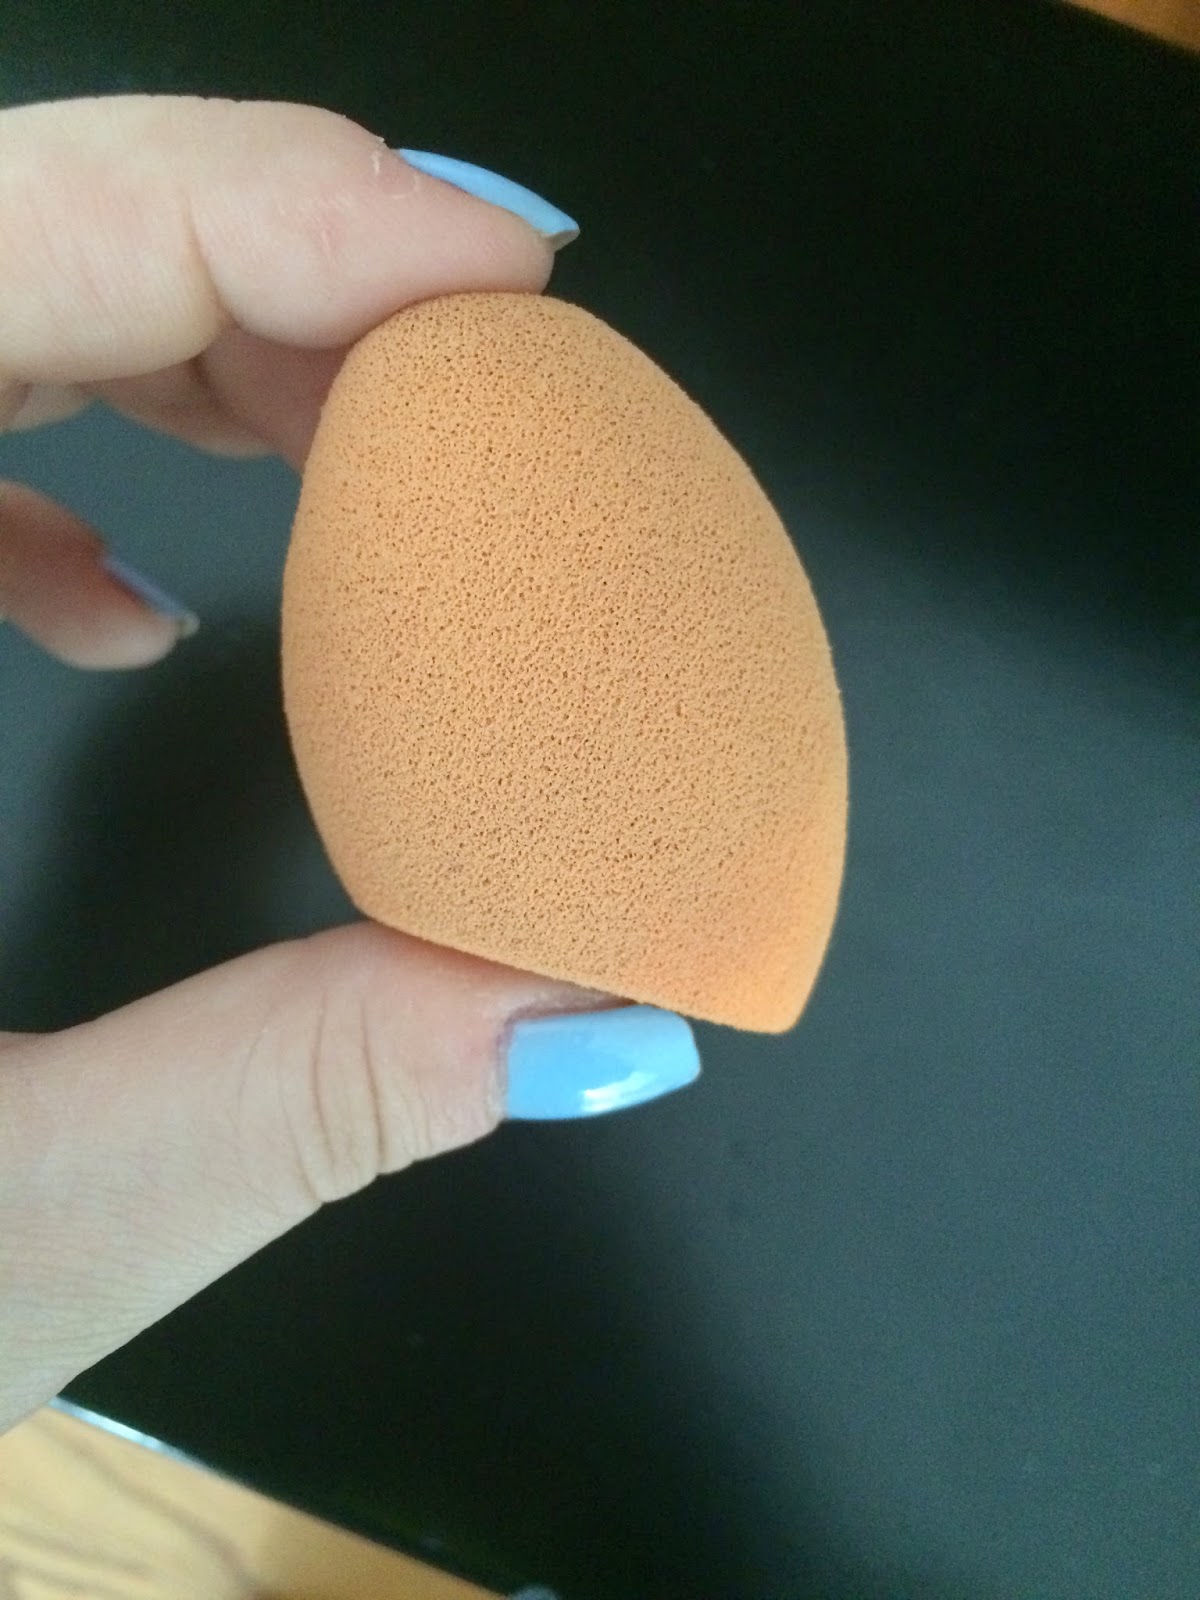
Now, for the beauty blender... this is a new product for me. I just purchased this Real Techniques blender from Ulta about two weeks ago. Since receiving it in the mail I have been obsessed with the results I have been getting! The product was introduced to me from a friend and she was so right about everything she told me! I have been pairing this product with my Maybelline Matte Fit-Me and it makes the perfect pair! This blender I feel works better with thinner foundations, which is perfect for me! I usually just apply a thin layer of foundation with the blender for a natural finish but if you want more of a full coverage look you can add more layers of foundation with the blender and it looks gorgeous- will not leave your skin looking cakey at all! When you use your blender make sure you soak it in water and squeeze out as much water as you can, you want just a damp blender not wet. Then dip the wider end of the blender into the foundation you applied to the back of your hand and begin patting it all over your face working from your nose outward. When applying foundation with a beauty blender you want to always pat gently all over to make sure your really pushing it into your skin which is how you will get that flawless finish. When applying under eye concealer or spot concealing your face you then turn over your blender to the pointed tip of the sponge and pat the product in until its blended perfectly. I also have been trying a cream blush and applying it with the blender- I first apply a small amount of product with my fingers to the apples of my cheeks blending back towards my hairline, then use the larger end of the blender and pat it gently into your skin to get the perfect "kiss" of color on your cheeks.
 |
| Very natural finish- still can see my discoloration |

**Make sure you use your blender wet!! I tried out a beauty blender about 6 months ago and hated it, that would be because I didn't read the directions and used it dry on my skin.. It was an awful experience!**
PS- the color on my nails is Sephora by OPI "Havana Dreams"--
I was channeling spring with all of this awful snow!

I LOVE both beauty tools and highly recommend having both of them on hand! For only $15 I would order them today- once I ordered them I got the package on my doorstep in 2 days! If you wear more of thick foundation the ecotools brush would be perfect for you! If you are like me and sometimes want a flawless look or sometimes more of a natural face, a beauty blender will be your best friend! When its all said and done, its what works best for you and what makes you feel most comfortable. Let me know what your favorite beauty tool is-or if you decide to purchase these tools from Ulta! They are worth every penny! I promise you will not be disappointed!


Comments
Post a Comment